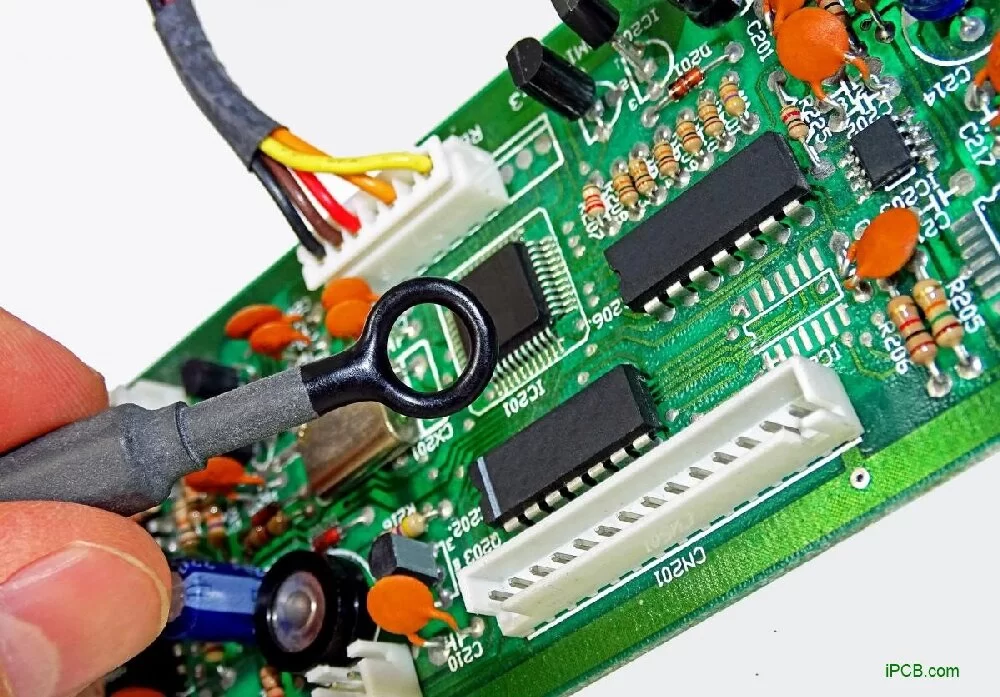
Printed circuit board troubleshooting is crucial in the maintenance and repair of electronic components equipment.As the core component of the electronic equipment, the performance and reliability of the printed circuit boards directly affect the operation of the entire equipment.If the printed circuit board fails, quick and accurate troubleshooting and repair is essential to ensure the normal operation of the device.
Methods and steps for Printed circuit board troubleshooting
1.Visual inspection is the first step in troubleshooting printed circuit boards.Observe the appearance of the circuit board with the naked eye and check for obvious physical damage, burn marks, component loss or bad damage soudure.Si the appearance turns out to be abnormal, additional inspection and repair should be carried out on time.
2.Electrical testing is an important means of troubleshooting printed circuit boards.Through the use of multimeters, oscilloscopes and other test instruments, electrical tests are performed on conductive patterns, electronic components and soldering points on the circuit board to check whether there are open circuits, short circuits, component damage or poor soldering.Electrical tests can be divided into two methods: static tests and dynamic tests.
The static test is a test that is performed when the printed circuit board is not under voltage. It is mainly used to check the continuity of the conductive pattern, the resistance values and capacitance values of the components and other parameters.Dynamic test is a test that is performed when the printed circuit board is under voltage. It is mainly used to check the working state of the circuit, the signal waveform, the voltage and current parameters.
3.Fault localization is an important step in troubleshooting printed circuit boards.By visual inspection and electrical tests, the specific location of the fault should be determined more accurately as soon as it has been established that there is a fault on the printed circuit board.Error positioning can use methods such as the step-by-step approximation method, the segmentation method, and the comparison method.
4.Error repair is the last step in troubleshooting printed circuit boards.Take appropriate repair measures depending on the type and location of the fault.In case of idling faults, welding, jumpers and other methods can be used for repair; in case of short-circuit faults, cleaning, insulation and other methods can be used for repair; in case of component faults, damaged components can be replaced; in case of welding faults, welding can be performed again.

Troubleshooting printed circuit boards
Precautions for Printed circuit board troubleshooting
1.When troubleshooting printed circuit boards, we must pay attention to safety.Avoid the occurrence of dangerous situations such as electric shock and short circuit.Correct instruments and test methods must be used when performing electrical tests and safe operating procedures must be followed.
2.Troubleshooting printed circuit boards requires care and patience.During visual inspection and electrical testing, every detail should be carefully observed and no possible points of failure should be overlooked.When finding and repairing errors, analyze and try patiently until the best solution is found.
3.Save the PCB when troubleshooting.Record the fault phenomenon, test results, fault location process and repair measures, and other information for future maintenance and reference.
Keep learning
Case study for Printed circuit board troubleshooting
Case 1: Troubleshooting the motherboard of the mobile phone
A mobile phone user found that his mobile phone could not be turned on because he suspected that the motherboard was defective.The maintenance staff first performed a visual inspection and found that there was no obvious physical damage or burn marks on the motherboard.Then perform an electrical test, use a multimeter to measure the output voltage of the power management chip on the motherboard and determine that the voltage is zero.Further investigations revealed, that the input terminal of the power management chip has a normal voltage input, which indicates that the power management chip has failed.After the maintenance staff replaced the power management chip, the phone returned to normal power-up.
Case 2: Troubleshooting industrial control systems
The industrial control in a particular factory did not work properly, as a result of which the production line came to a standstill.The maintenance staff first carried out a visual inspection and found that a relay in the controller had burn marks.Then perform an electrical test, measure the coil resistance and the contact resistance of the relay with a multimeter, and determine that the coil resistance is infinite, which indicates that the relay coil is open.After the maintenance staff has replaced the relay, the controller returned to normal operation, and the production line was restarted.
Troubleshooting printed circuit boards is a complex and important task.Through the visual inspection, electrical test, fault location and repair steps, PCB faults can be effectively investigated and repaired to ensure the normal operation of electronic equipment.When troubleshooting printed circuit boards, we need to pay attention to safety, be careful and patient, keep good records, and continue to learn how to improve our troubleshooting capabilities.At at the same time, we need to flexibly use various troubleshooting methods and techniques in combination with the actual situation to find the best solution.