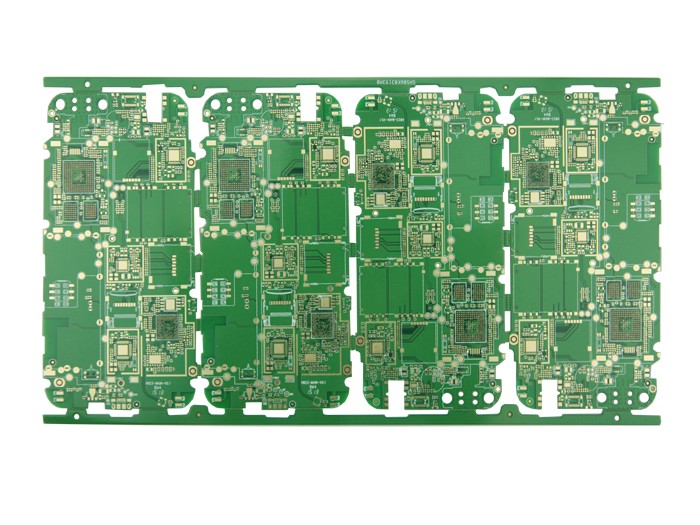
Wire and PCB needle welding procedure
(1) Pretreat the wire end.
(2) Cross and vertical contact between the pretreated wire and the PCB board needle, as close as possible to the bottom of the PCB needle, and the insulation layer of the wire is about one core diameter away from the terminal post.

(3) Wrap the preprocessing end of the wire around the PCB needle with needle-nose pliers, as shown in the figure after wrapping.
Wire and PCB needle welding steps and what matters needing attention
(4) for welding, welding should pay attention to the soldering iron should be placed with wire insulation layer in the direction opposite, welding head, add a small amount of solder for heat transfer in the relative surface to add solder wire, soldering iron to form a good welding, solder cannot be too little, too little strength is not enough, also cannot too much, too much easier to form accumulation of soldering on PCB needle base. Cause virtual welding, such as bad welding feet.
(5) Cleaning and finishing.
Matters needing attention
(1) All temporary welding during testing and debugging shall adopt lap welding method.
(2) If conditions do not allow, the soldering iron head and solder wire can not be placed on both sides of the terminal post by up and down.
(3) In all kinds of welding, special winding tools, such as round nose pliers, are used for pretreated wire bending to facilitate the welding between wire and terminal. If the pliers are used, do not scratch or damage the wire, and leave a certain gap between the insulation covering of the wire and the terminal post, which is the length of the core diameter of the wire.
(4) in order to get good welding effect, should add solder on terminal, and to add in the contralateral soldering iron, solder by hot terminal melt and flow to the conductor, the formation of welding, soldering can't use too much, should be paid attention to in order to ensure that, to see the outline of each wire ever apparent dip soldering, and whether the surface gloss.