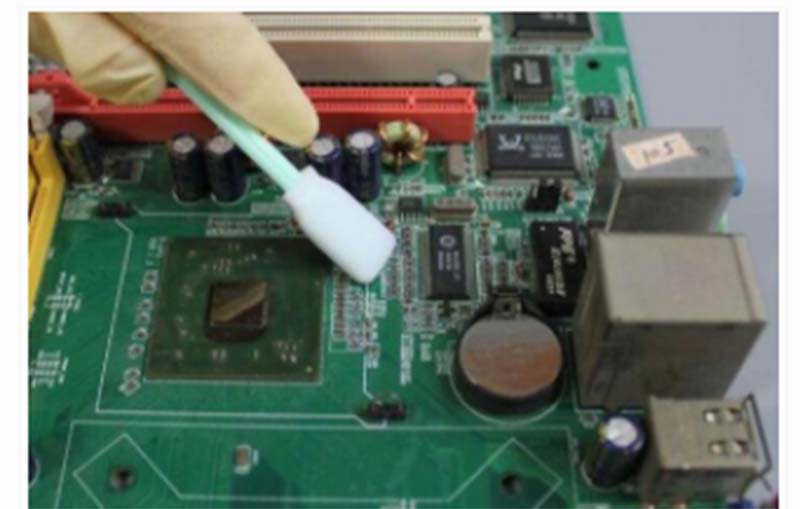
Cleaning circuit board is a necessary step to ensure that electronic devices function properly. Over time, circuit boards accumulate dust, dirt, and other contaminants that can affect their performance and reliability.Therefore,knowing how to clean circuit boards the right way is an essential skill for every electronic equipment maintainer.
Common cleaning circuit board methods:
1.Physical cleaning method
Physical cleaning method is mainly through the mechanical removal of dust and dirt on the circuit board.The most common method is to use compressed air to blow the dust away, especially for sensitive areas near electronic components.In addition,the use of soft brushes (such as horsehair paint brushes) is also an effective way to easily clean hard-to-reach places without damaging components.
2.Chemical Cleaning
The chemical cleaning method relies on cleaning agents to remove dirt and impurities.For boards with residual flux, cleaning with a saponifier is necessary. Usually, alcohol is one of the most common cleaning agents used by hobbyists and engineers to effectively remove flux residues.Also,a mixture of baking soda and distilled water is widely used to remove dirt without damaging the board.
3.Dry Cleaning Method
The dry cleaning method uses a mixture of organic solvents and deionized water and is suitable for the drying stage after wet cleaning circuit board. This method is particularly suitable for preventing moisture from remaining on the board after cleaning, helping to keep the board dry and thus avoiding subsequent electrical failures.

Circuit board cleaning steps
1.Preparation
Before cleaning circuit board,you need to be well prepared. First, make sure that the circuit board is in a state of power failure to prevent electrical accidents. Then, carefully disassemble the circuit board to be cleaned from the device and record the connection of the components to ensure that they can be properly restored after cleaning.
2.Cleaning with compressed air
Using compressed air is the first step in cleaning the surface of a circuit board.Grab a can of compressed air and spray it into the vents and sensitive areas of the board to remove dust and debris.This method can safely and effectively remove surface dirt without touching the board.
3.Cleaning Dirt and Fluxes
For more stubborn dirt and flux residues, a wet cleaning method can be used.In this step,use a soft brush and an appropriate cleaning agent (e.g., isopropyl alcohol or saponifier) to gently clean the surface of the board, especially where there is a high level of flux residue. Using a moist toothbrush helps to clean the dirt thoroughly.
4.Rinse with clean water
After completing the cleaning, rinse the board thoroughly with distilled water to ensure that all cleaning agents and impurities have been removed.Pay attention to the flow of water during rinsing to avoid damaging the board with excessive water flow. After rinsing, the surface should be clean and free of residue.
5.Drying
After washing, use compressed air to blow dry the board again to ensure that all moisture is removed. Especially small gaps and slots in the board and other places to ensure that no water droplets remain. When finished you can place the circuit board in a dry, ventilated area and allow it to dry naturally to ensure thorough drying.
6.Inspection and Restoration
After the cleaning and drying process,carefully inspect the circuit board for leaking capacitors or other signs of damage. If any problems are found, they should be replaced or repaired promptly. After confirming that there are no problems with the circuit board, it can be reinstalled back into the device to ensure that the components are properly connected.
Ensuring that circuit boards are adequately dried after cleaning is a critical step in preventing short circuits and other electrical failures.
Methods for drying after cleaning:
Use compressed air: Use a compressed air nozzle to dry the surface of the board after cleaning, especially in those hard-to-reach areas. Make sure to keep the proper distance between the nozzle and the board to avoid damaging components.
Air dry: After cleaning, leave the board to air dry in a well-ventilated environment. Avoid direct sunlight as high temperatures may affect the board material.
Drying equipment: Use specialised board drying equipment to ensure that the temperature is appropriate and to avoid damage to the components from high temperatures. A temperature between 40°C and 60°C is usually recommended.
Caution:
Avoid humid environments:Cleaning and drying operations should be carried out in low humidity environments to speed up water evaporation and reduce the risk of moisture recondensation.
Continuously check the condition:Check the condition of the board from time to time during the drying process to ensure that there is no moisture build-up or traces of residual cleaning agents.
Use Desiccant:When placing the board in a confined environment,a desiccant (e.g. silica gel) can be used to help absorb surrounding moisture to speed up the drying process.
Confirmation of Completion:
After ensuring that the board is dry, you can verify it in the following ways:
Visual Inspection: Check the board surface for any remaining water droplets or cleaner residue.
Electrical Test: Perform a simple electrical test to confirm there is no risk of short circuits before installing or energising the board.
Properly cleaning circuit boards is an important part of maintaining the performance of electronic equipment and extending its life. By understanding common cleaning methods and specific cleaning procedures, you can effectively remove dirt and contaminants from circuit boards to ensure the proper functioning of your equipment. Regular cleaning and maintenance not only improves the reliability of circuit boards, but also reduces the risk of potential failures. Therefore, mastering these tips and applying them in practice will provide security for your electronic devices and ensure their stable operation over a long period of time.